
Before I reveal the end results, let me give you a peek into the drama it took to get here.
Check out post # 1 From Headboard Heck
and Post #2 Into the Depths of Headboard Heck
for the dumb drama that came along for the ride.
The End Results:
(P.S. Don't pay attention to the shorty nightstand on the left- it is getting replaced soon!)


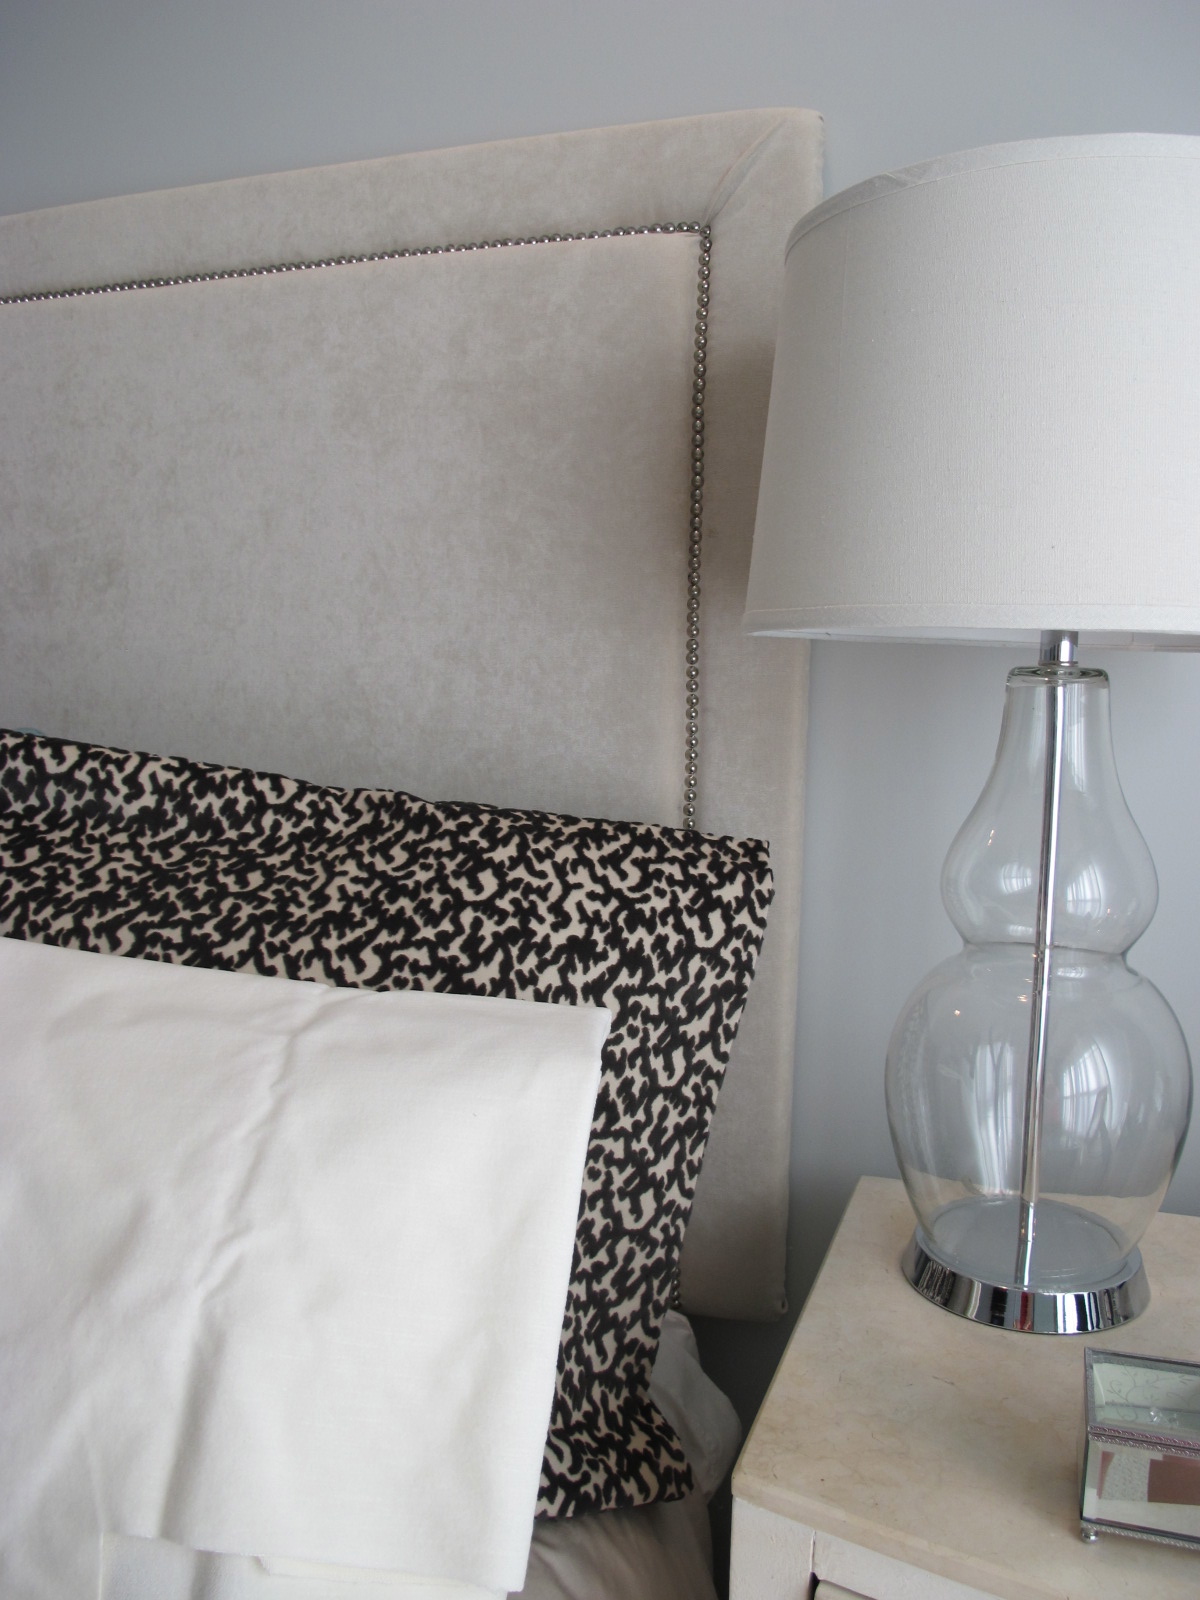
Here is a detail of the border and the nailhead trim:
 |
| Although this picture makes the fabric look wavy- it isn't! |
I love how it has turned out. It makes the room feel so much more complete. It also makes me want to change our bedding. The turquoise Euro's that I photographed are actually from my guest bedroom and are just to show how big the back pillows SHOULD be. Right now, I only have king size shams and need to make Euros to add some height to my bedding.
I bought these velvet fabrics at Scott's in Atlanta a couple of years ago and have never used them. I'm so glad that I have waited- -I can't wait to make them and finish the bed up!
Not to bore you with the step by steps, I have posted another post that goes more into detail in case you want to make one yourself!
It was a fun project, even with the hang-ups, but it is so rewarding when it is finished and you are able to enjoy your hard work!
i would love to redo our headboard but it is apart of the bed already but maybe husband will let me change things up a bit!!
ReplyDeleteYou should convince him--it is worth it! I was finally able to get this done when we went from a queen to a king--otherwise, we would probably still have my husband's bedframe from college, ha!
DeleteGreat job Whitney!
ReplyDeleteThanks Vanessa for stopping by! I love how it turned out- but SO GLAD it's finished!
DeleteHow do you attach this to the frame??
ReplyDeleteHeather,
DeleteI did a full post on how I made this.
http://whitneybrock.blogspot.com/2012/11/how-to-make-upholstered-headboard-with.html
Hope that helps!
Whitney
Hi Whitney,
ReplyDeleteAwesome Job! Love it!
Nice, simple and chic headboard you made. Great job Whitney!
ReplyDelete