
Let's travel way back into time. Here's the blog I wrote the day we started this venture. It was dated MARCH 26-- holy cow it has been an 7 month venture so far!
THE DESIGN
My original thoughts for a headboard were this:
1.Tall
2.Sculpted
3.Velvet with nailheads
I began sketching up a design and quickly realized that this would be much harder than I expected it to be with the curved edges.


After studying many videos and tutorials online, we came up with a game plan. I ordered all the supplies and we quickly began working on the headboard. It went fast and we had very few hiccups.
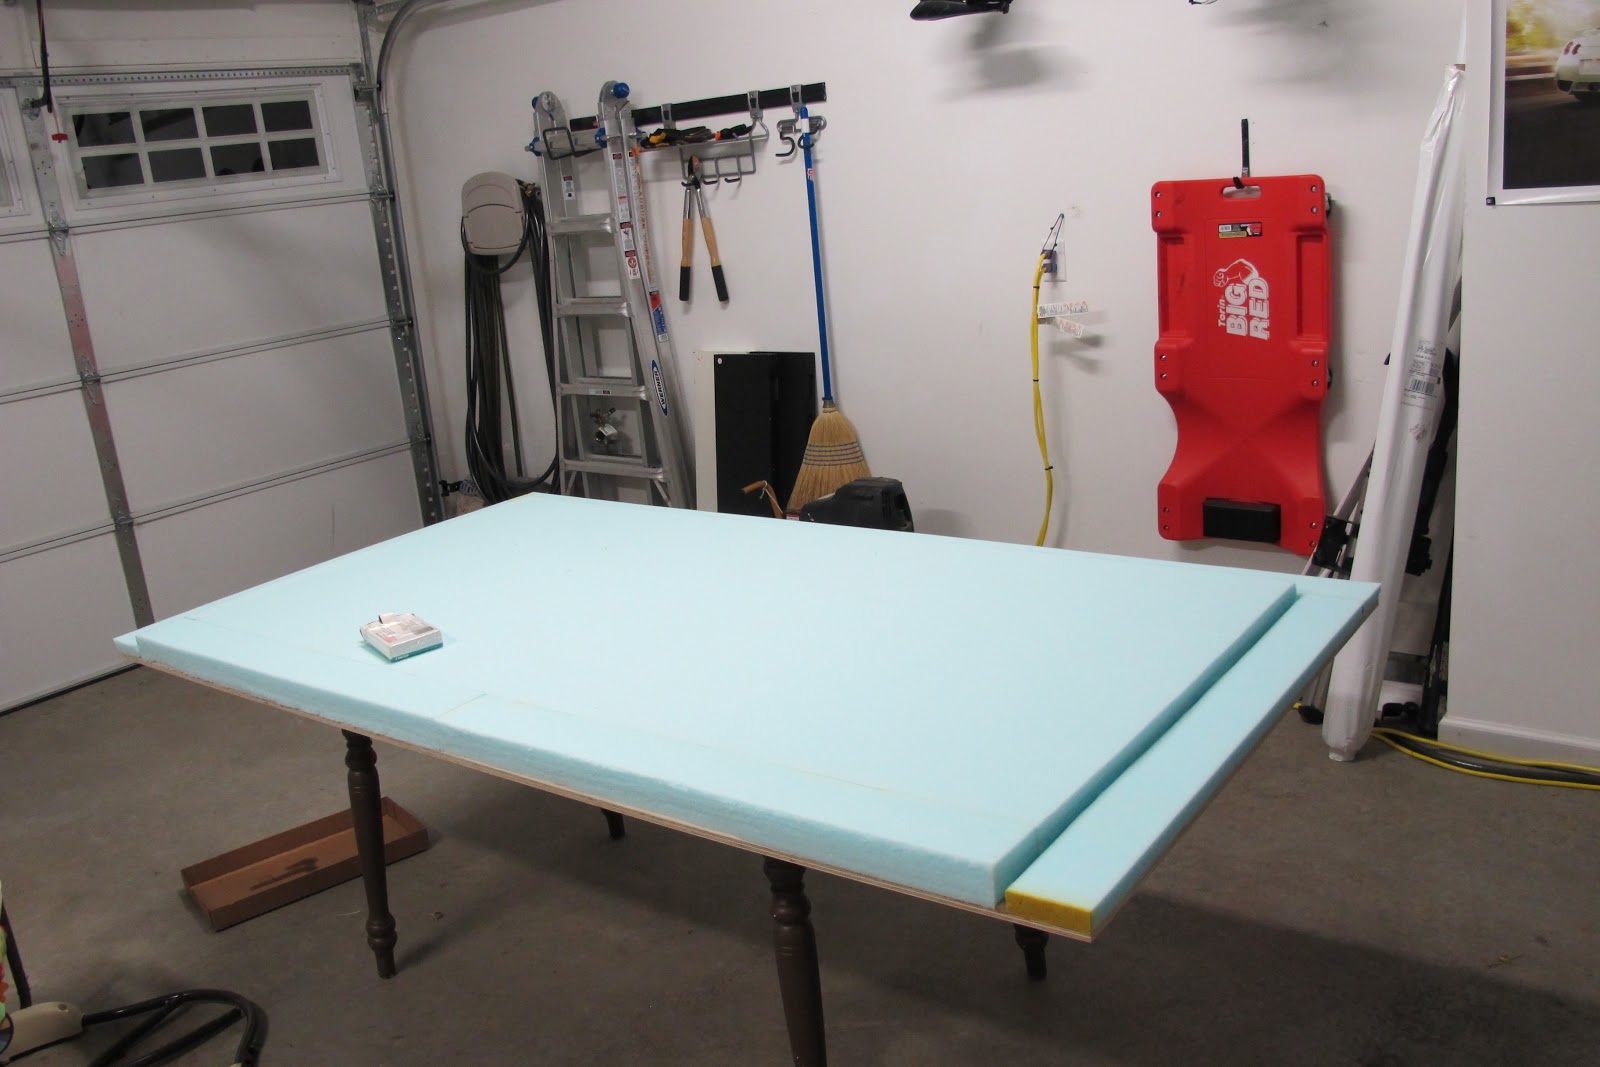
1. On the pre-cut plywood (we used a full sheet and did not need it cut down) draw out the design-- in this case the border. I wrote on each section the type of foam being used--either 1" or 2" thick.

2. In order for the nailheads to have a good grip, cardboard tack strips are suggested. Take the tacking strips and measure out the length that you need.


Glue layers together until the desired height is reached. We ended up having about 15 layers of tacking strip when all said and done.

Mark the strips according to area they go on so that you don't get mixed up later.

3. Now measure and cut out the foam for the board. (Use painter's tape to help you keep sharp edges and yourself in check as you cut!


4. Once everything is cut and in place, glue down the tack strips
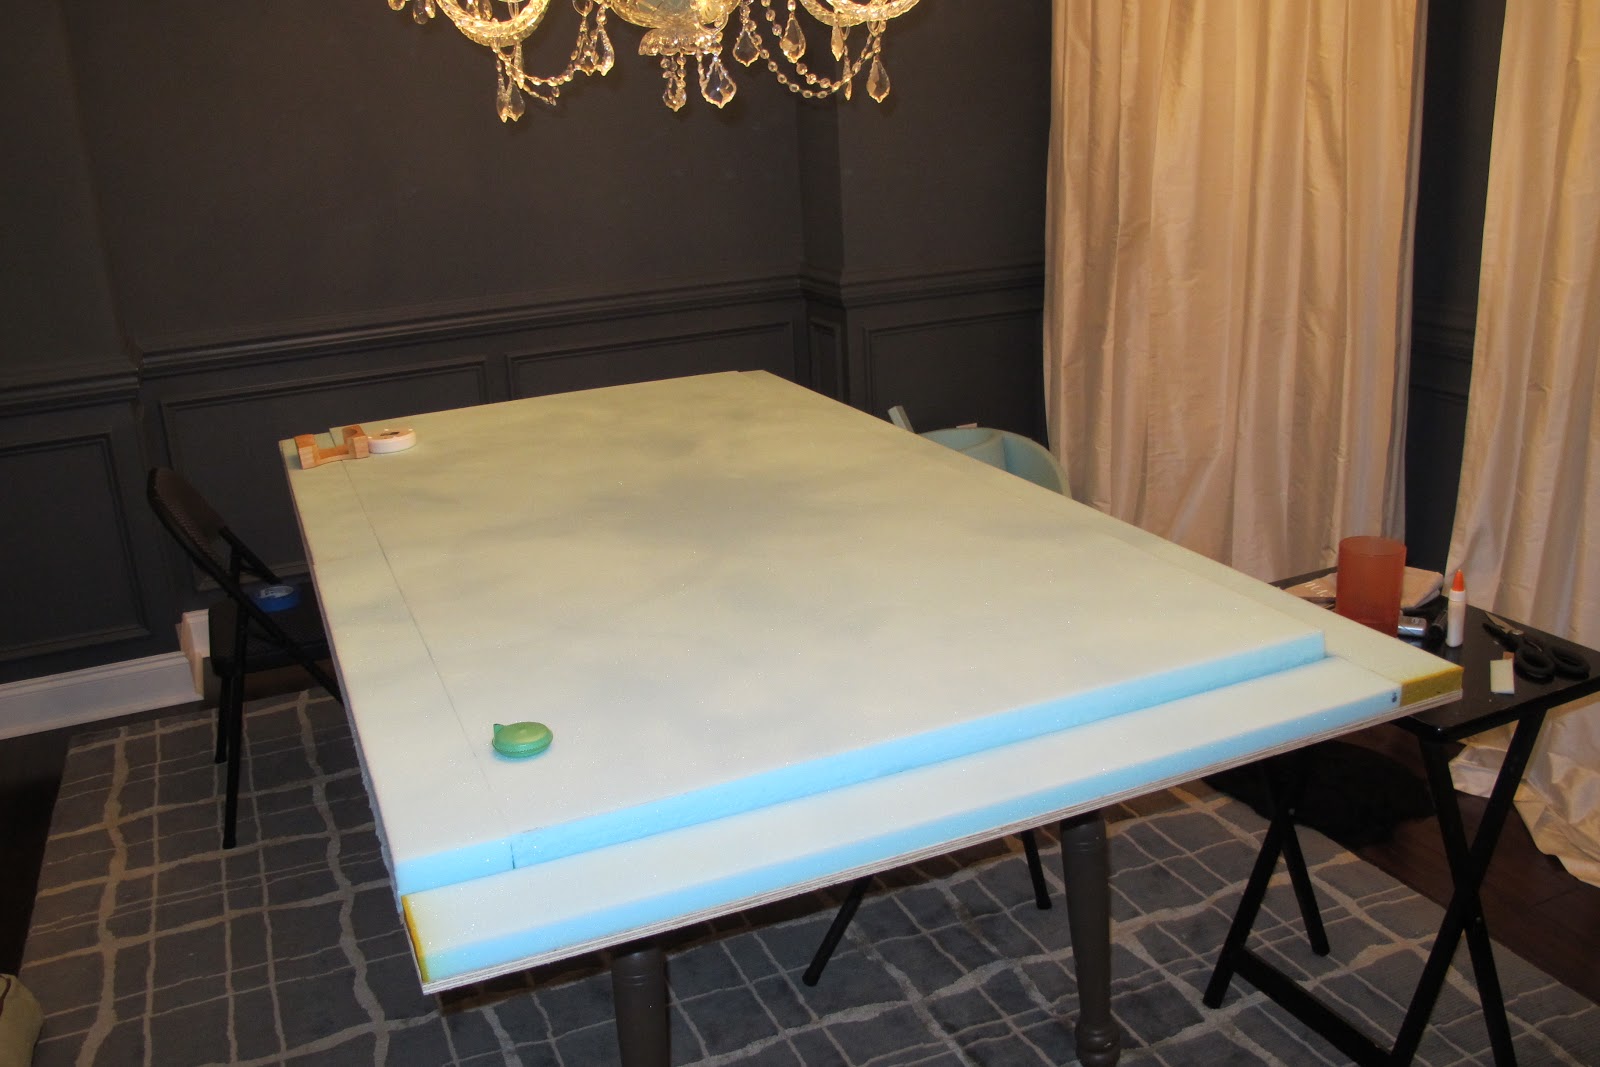
and use spray glue to adhere the foam to the board.

So far so good!
No comments:
Post a Comment