
Welcome back! This series of posts are about our upholstered headboard that we decided to make for our master bedroom.
Check out the last post here, if you need to catch up!
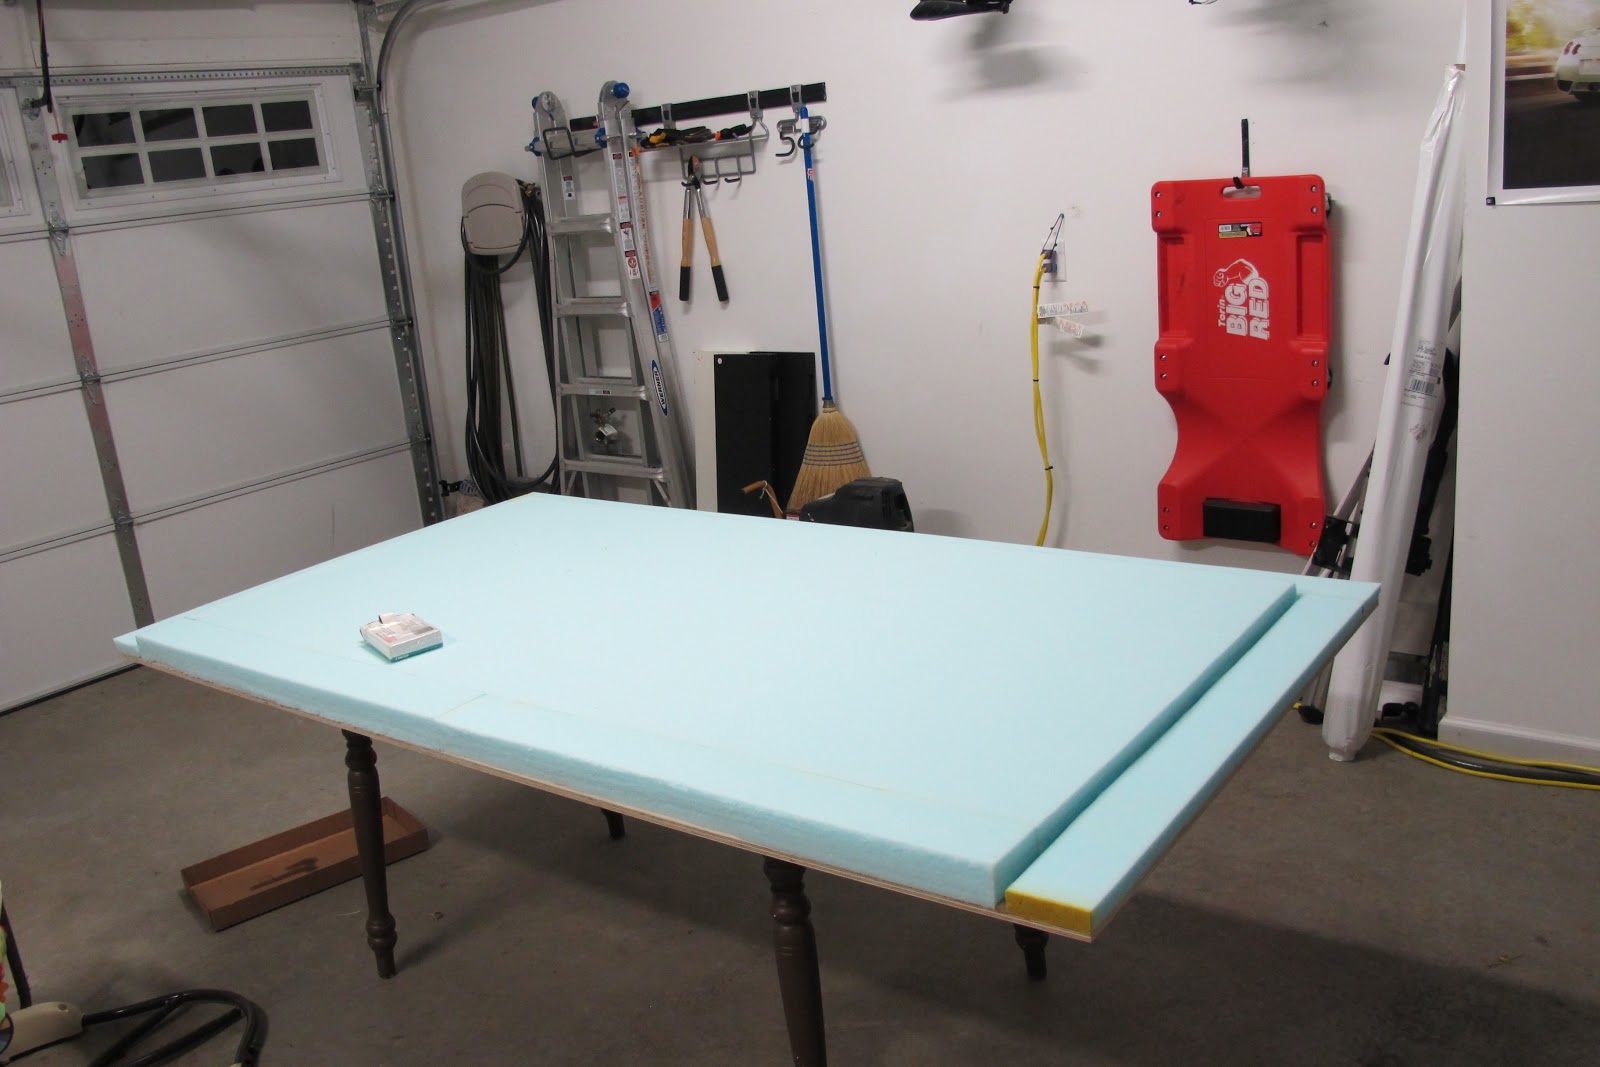
We left off after the foam had been glued down. Because of the size of the board and to save costs, we had three pieces of foam in the center section. To ensure that the headboard stayed smooth and didn't show these pieces, we covered the whole thing with padding.

We laid the padding out and begin to staple between the center and the border and then again on the back.


This ended up being great because it softened the corners and gave us a good channel for the nailheads.

Moving along, we then started with the velvet.
Fabric comes in widths of 54". Our headboard is 80" wide. In order to cut costs and to keep from having seams on the headboard, we ran the fabric longways.

We laid the fabric out and then tucked the fabric in the channel for the nailheads and stapled the fabric to the back.

Then came the nailheads. More than half-way through, I had Greg hold it up and look at it. I WAS HORRIFIED. Velvet has a grain and it was wavy and went downhill. We tried to adjust it, but the nailhead holes were too big to avoid or hide when we adjusted the fabric. (I was so distraught that I forgot to take pictures of the BAD BAD upholstering job!)

So in all efforts to save money-- it didn't happen. I had to reorder the velvet and start again. Although a pain in the you-know-what, it turned into a blessing because I learned some things along the way and knew what NOT to do the next time around.
Stay tuned to see the unveiling of the final product!
No comments:
Post a Comment