
 |
| This is my favorite picture Greg took the other night of the tree. |
1. Color Scheme is important. Start out selecting several colors that you like together. Whether it's the traditional red, greens, and golds or my favorite, silver, gold, and crystal, create a theme and stick to it!
 |
| My theme is silver, gold, and crystal. |
A. Use this theme throughout your space, not just the tree. This will unify your designs and make it less "hodge-podge".
 |
| Kitchen Door Wreath |
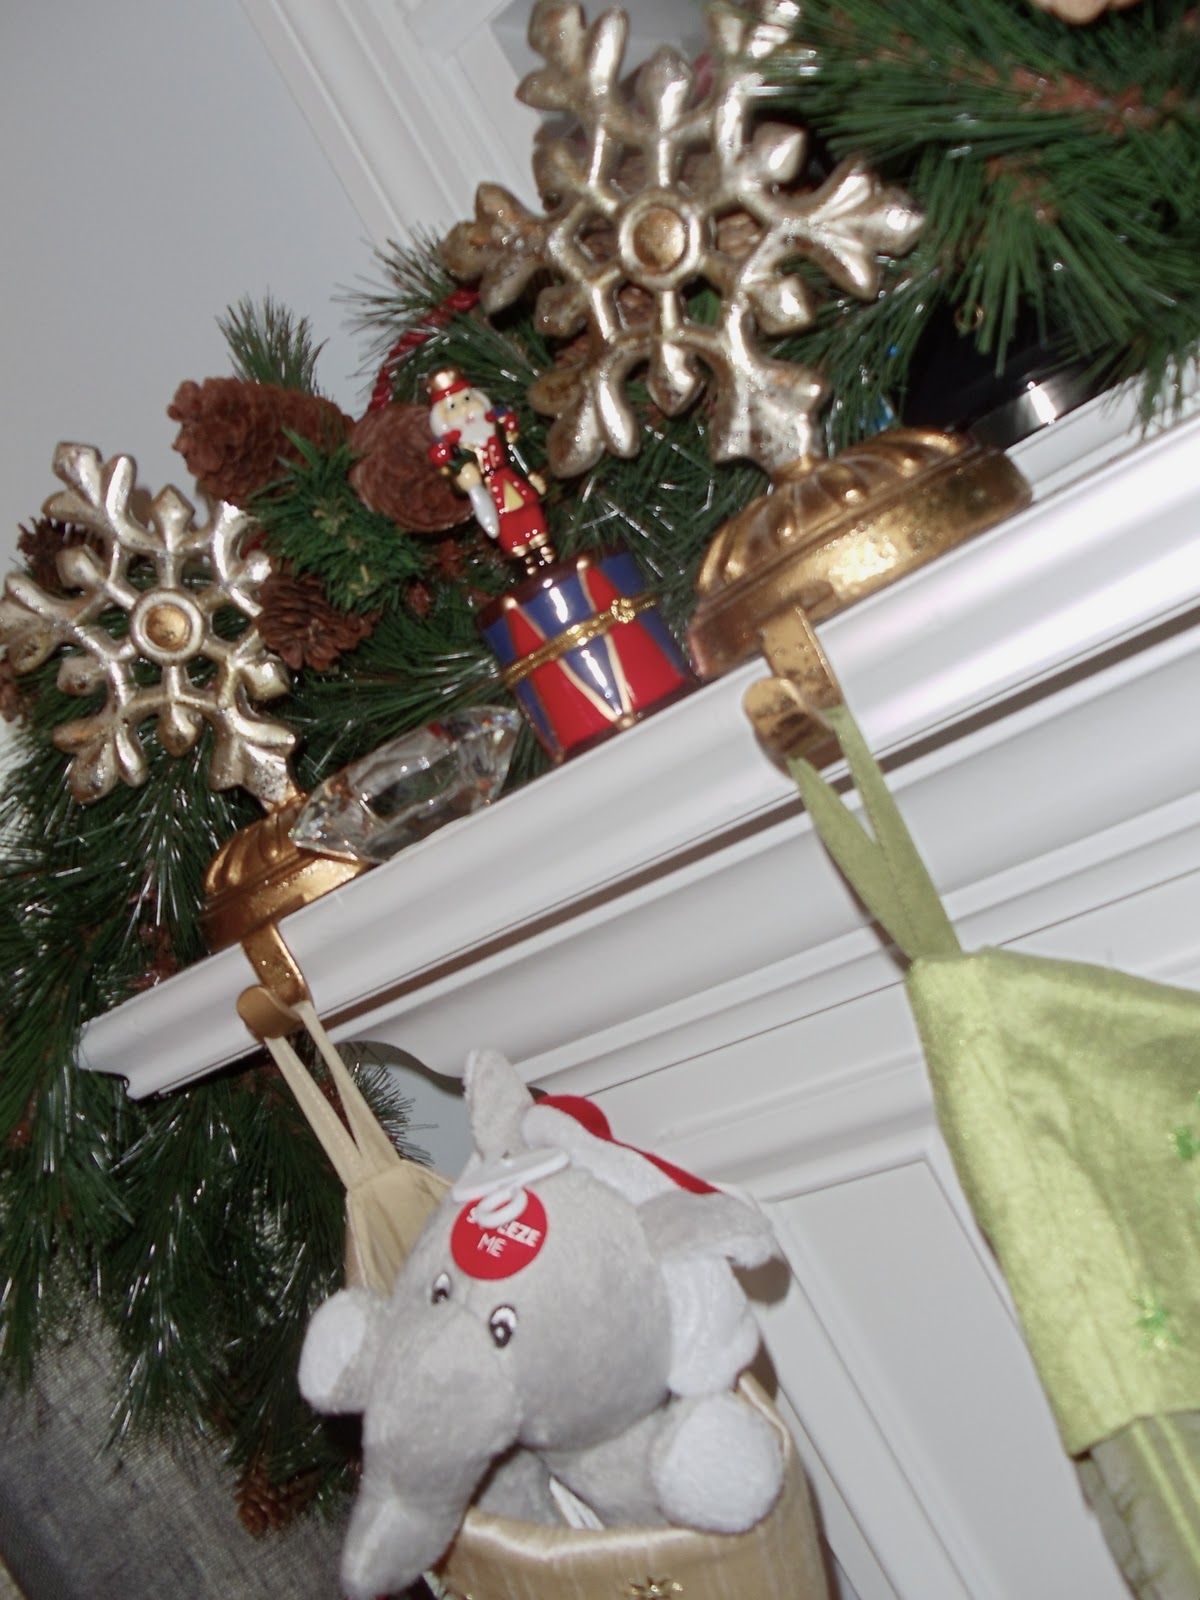 |
| Silver and Gold stocking holders. |
*Remember to cluster collections and other decor in odd numbers!
 |
| Only displaying a few makes them stand out more. |
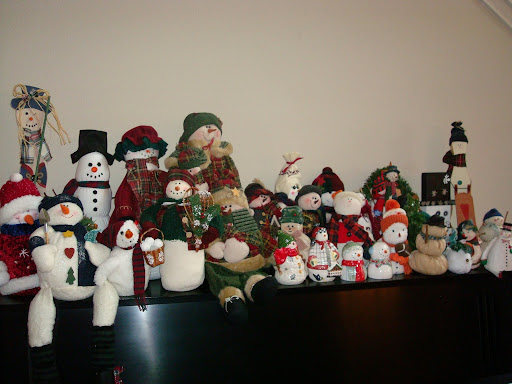 |
| Having so many displayed is too cluttered. |
2. The key to having a sparkling tree are tons of lights! When putting on your lights, make sure to put the lights all the way from the tips of each branch down inside the tree trunk. This gives your tree dimension and allows you to put ornaments deeper in your tree that will still show up.
 |
| This tree has tons of lights from the tips of the branches to the tree trunk. |
*Basic Solid balls- I get cheap ones that match my color scheme. I usually get regular sized ones and then the large ones.


 |
| One of my favorites that Nana gave me! |

*Icicles. I love having long spindles and iciles on the tips of the long branches around the tree. Nothing finishes off a tree like the "icicles".


*Non-matching ornaments. No matter what scheme you have, there will always be sentimental ornaments that you want to display that do not match your color scheme.

A. Begin with the ovesized ornaments and fill in larger holes and gaps in the tree with these ornaments.
B. Next begin to add the basic solid balls. One thing to add a twist is to put 3 small basic balls on the same hook. Even having three different shades in the group really adds a pop to your tree.

C. Then add your non-matching ornaments. The way I suggest handling it is to organize these by color and carefully place them all over the tree so that they are strategically scattered and you get pops of color all over your tree.
D. Now add your showstoppers. One neat little trick that I like to do is to make sure that a bulb is above or below the ornament and is directed to that ornament. It gives the ornament its own 'spotlight' and makes the ornament stand out even more.
 |
| The light above the ornament gives it extra shimmer! |

*Weave it in and out and over and under branches. This way you get the color all over the tree and it looks more organic than just a spiral down your tree (although that can be a great look too, that's just now what I was going for this year).
F. Now add your icicles on the edges of the branches to finish off the body of the tree.
G. For the top of the tree, I went to Michaels and got twigs of interesting shapes, colors, and designs that matched the rest of the tree. One by one, add them around the top portion of your tree. Let them stick out further than the branches for the desired effect. Don't forget your tree topper!


Here's the final product!


MERRY CHRISTMAS!!!!
No comments:
Post a Comment