Friday, December 17, 2010

Fabulous Friday

I saw this on one of my blogs this morning and just had to post. It is everything I am feeling today.

A bright and festive tree that's ready for the pre-Christmas weekend that's full of energy because it's Friday!
via coco+kelley

It's fun, quirky Christmas tree from a few years back, but it made me smile and maybe it will make you smile too.

Enjoy your weekend!

Thursday, December 16, 2010

Longwood Sneak Peek

Although I have started my dream job, I am still finishing up Longwood, the project that I was doing on my own before I started work. The project is 75% done, but I have not been able to see it in person for several weeks. My clients sent me a picture of it and I am thrilled with how it is turning out.

Here's a sneak peek at the job.

 
Cabinet Hardware being installed matches the lines of the light fixtures in the room.
Shower tile finished.
Having low-iron glass makes it super-crystal clear.You can hardly tell that there is a glass wall at the front with a door there! Again, the handle has the same lines as the light fixtures. Click here to see all of the original selections.

Hope everyone has had a great week! It's almost Friday!

Saturday, December 11, 2010

Christmas Tree Decorations

Although Greg and I are new to having a big tree for Christmas, I grew up watching my mom decorate our tree and am proud to say that I learned how to decorate a Christmas tree from her!

This is my favorite picture Greg took the other night of the tree.
Here are my full-proof ways of making your Christmas tree sparkle as the centerpiece of your holidays!

1. Color Scheme is important. Start out selecting several colors that you like together. Whether it's the  traditional red, greens, and golds or my favorite, silver, gold, and crystal, create a theme and stick to it!
My theme is silver, gold, and crystal.

    A. Use this theme throughout your space, not just the tree. This will unify your designs and make it less "hodge-podge".

Kitchen Door Wreath
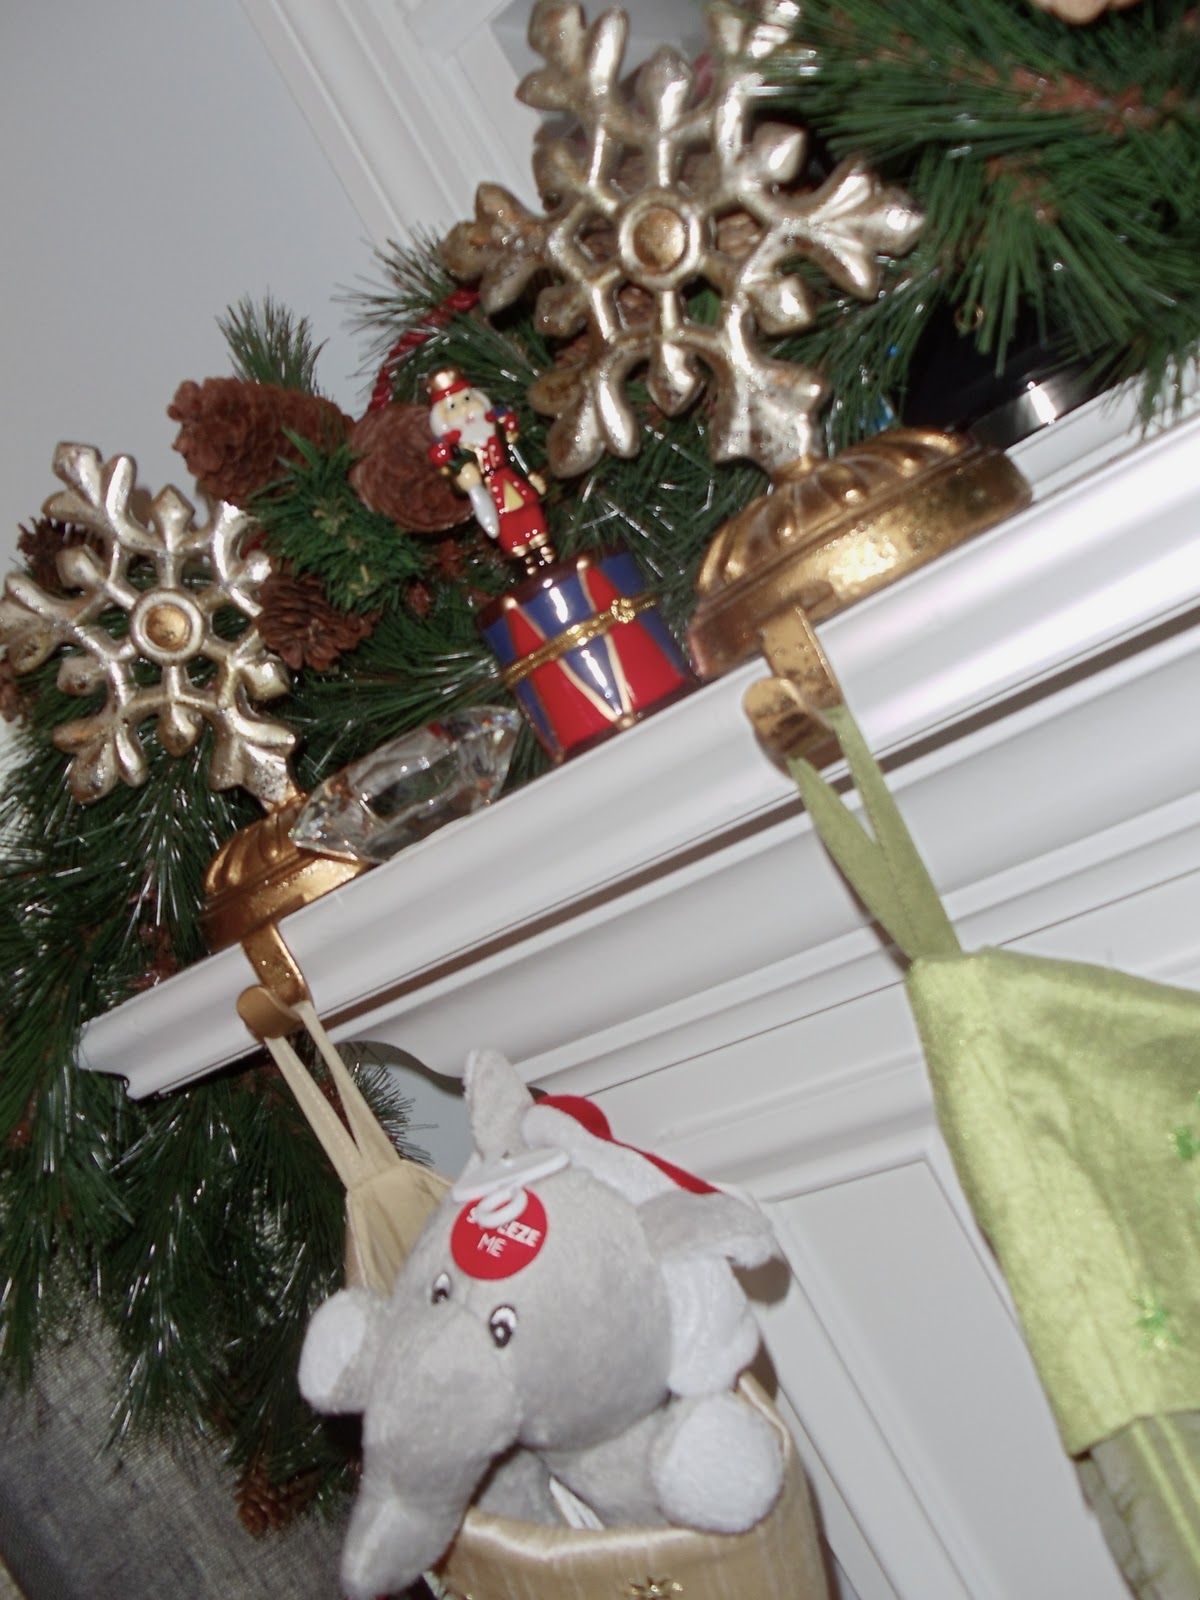
Silver and Gold stocking holders.
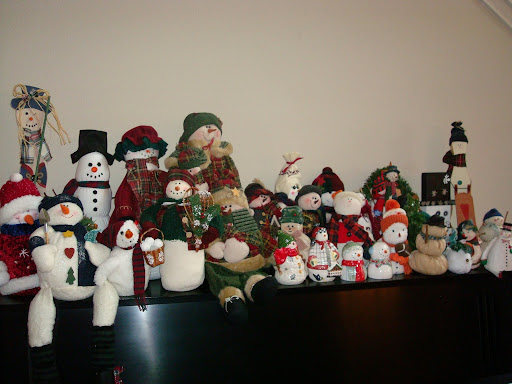
 B. If you do have collections that you like to display, pick out only your favorites and display them. This way it is not cluttered and you can enjoy your favorites.

*Remember to cluster collections and other decor in odd numbers!

Only displaying a few makes them stand out more.
Having so many displayed is too cluttered.


2. The key to having a sparkling tree are tons of lights! When putting on your lights, make sure to put the lights all the way from the tips of each branch down inside the tree trunk. This gives your tree dimension and allows you to put ornaments deeper in your tree that will still show up.
This tree has tons of lights from the tips of the branches to the tree trunk.
3. Before decorating, separate ornaments into categories.  This is how I categorize:

       *Basic Solid balls- I get cheap ones that match my color scheme. I usually get regular sized ones and then the large ones.
       *Decorative balls- these are the same size as the basic ones, just decorative.
       *Oversized Ornaments. I like to use these ornaments to fill holes in the tree banches and use them deep in the tree to have color all throughout the tree.
One of my favorites that Nana gave me!
       *Showstoppers. These are the ones that I want in focal points and around the edges of the tree to show off.

*Icicles. I love having long spindles and iciles on the tips of the long branches around the tree. Nothing finishes off a tree like the "icicles".


 *Non-matching ornaments. No matter what scheme you have, there will always be sentimental ornaments that you want to display that do not match your color scheme.
4. Now for the fun part.

    A. Begin with the ovesized ornaments and fill in larger holes and gaps in the tree with these ornaments.

    B. Next begin to add the basic solid balls. One thing to add a twist is to put 3 small basic balls on the same hook. Even having three different shades in the group really adds a pop to your tree.

    C. Then add your non-matching ornaments. The way I suggest handling it is to organize these by color and carefully place them all over the tree so that they are strategically scattered and you get pops of color all over your tree.

    D. Now add your showstoppers. One neat little trick that I like to do is to make sure that a bulb is above or below the ornament and is directed to that ornament. It gives the ornament its own 'spotlight' and makes the ornament stand out even more.
The light above the ornament gives it extra shimmer!
    E. Now add your garland. I used a glitter-ized garland this year and am very happy with how it turned out! It adds sparkle all over the tree and is a little less traditional than berries or regular garland.
  

*Weave it in and out and over and under branches. This way you get the color all over the tree and it looks more organic than just a spiral down your tree (although that can be a great look too, that's just now what I was going for this year).

F. Now add your icicles on the edges of the branches to finish off the body of the tree.
G. For the top of the tree, I went to Michaels and got twigs of interesting shapes, colors, and designs that matched the rest of the tree. One by one, add them around the top portion of your tree. Let them stick out further than the branches for the desired effect. Don't forget your tree topper!


Here's the final product!


MERRY CHRISTMAS!!!!

Tuesday, December 7, 2010

I'm not small, I'm Fun-Sized!

Who says that your powder bathroom has to follow the rules like the rest of the house? I think that this is the PERFECT room to get fun and funky and show off your TRUE personality! And the great thing about it being a small room? When you get tired of it, change it! It's usually not that expensive to re-vamp it every now and then!!
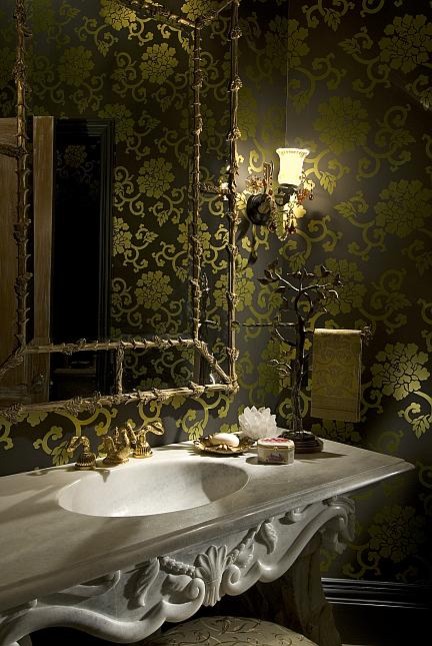
Here are some fun and funky baths that I think are just FULL of personality!


Well, if you can't figure out where I am going with this.... it's that new love of my life, wallpaper. Yes, I said the dreaded word. It has come a long way and gives that wow factor that you can't get with paint!!

When Greg and I were working on the house, I basically left our powder bathroom as a blank canvas. I did a neutral tile with little movement on the floor and a creamy white paint on the walls with a white trim.  I left it simple because I knew it would be my place to have fun.


Walt Disney has come out with a wallpaper line and it is stunning! It's not what you think, no Mickey Mouse characters, no Tinkerbell, no cutesy border paper. Each paper is inspired by a famous movie, but it is sophisticated and glamorous. It is that perfect wow factor for a small powder bath! Here are some of the patterns....

I have a few papers in mind, but nothing set in stone yet. Stay tuned to see the big reveal once I finally make a decision!

Are there any wallpapers that have you in a tizzy?

Thursday, December 2, 2010

Quick Yummy Meal

So yesterday as I was running out the door for work, I turned on my crockpot. When I got home, we had a delicious warm meal to eat!

I like to experiment in the kitchen from time to time. Alot of times, I fly by the seat of my pants and throw the kitchen sink at the meal. Some turn out REALLY bad, most are ok, and then some turn out REALLY good. For a quick, simple meal with great, but simple, flavors... try out my newest "experiment"

Greg said it was my BEST crock-pot meal yet, so I will call this one,
"Greg's Favorite Crock-Pot Meal",
creative huh?


"Greg's Favorite Crock-Pot Meal"
-one cup of beef broth ( I used two beef bullion cubes and a cup of hot water, it's stronger flavor than regular beef broth)
-1 tbs. liquid smoke, can use less
-1 pkg. of Lipton's french onion dry soup mix
-one small yellow onion, chopped (I like big chunks, they are easier to eat)
-1 tbs. butter
-2-3 lb. roast of your choice
-about 1lb. carrots (I buy the baby carrots, saves cutting time!)
-3-4 lbs. of red potatoes, quartered.


1. Add broth and liquid smoke into the crock pot.
2. In a small skillet, melt butter and then carmelize the onions. Add to broth.
3.Place meat in center of crockpot.
4. After chopping carrots and potatoes to size, add to pot.
5. Once everything is in pot, sprinkle the soup mix on top.
6. I like to add a little more water to the pot, but you don't have to add any extra.
7. Set on low and cook for 6-8 hours!

It comes out super juicy and the flavors meld perfectly together! The recipe makes a ton of food, so be prepared to have leftovers for lunch and dinner the next day!

Let me know if you try this or what you do to put your own spin on this recipe.


P.S. great dipping breads are suggested!

Bon Appetit!